This is a step-by-step guide for Google product beginners. This tutorial will require you to have a Gmail account and be able to log into it. If you don’t have a Gmail account you can create one for free here!
In our opinion, Google Drive is bar none the best way to share images, files, folders, and related content with others. Whether you need to share an image with one person or fifty, Google Drive has got you covered. Let’s jump into this.
1. Log into your Google account
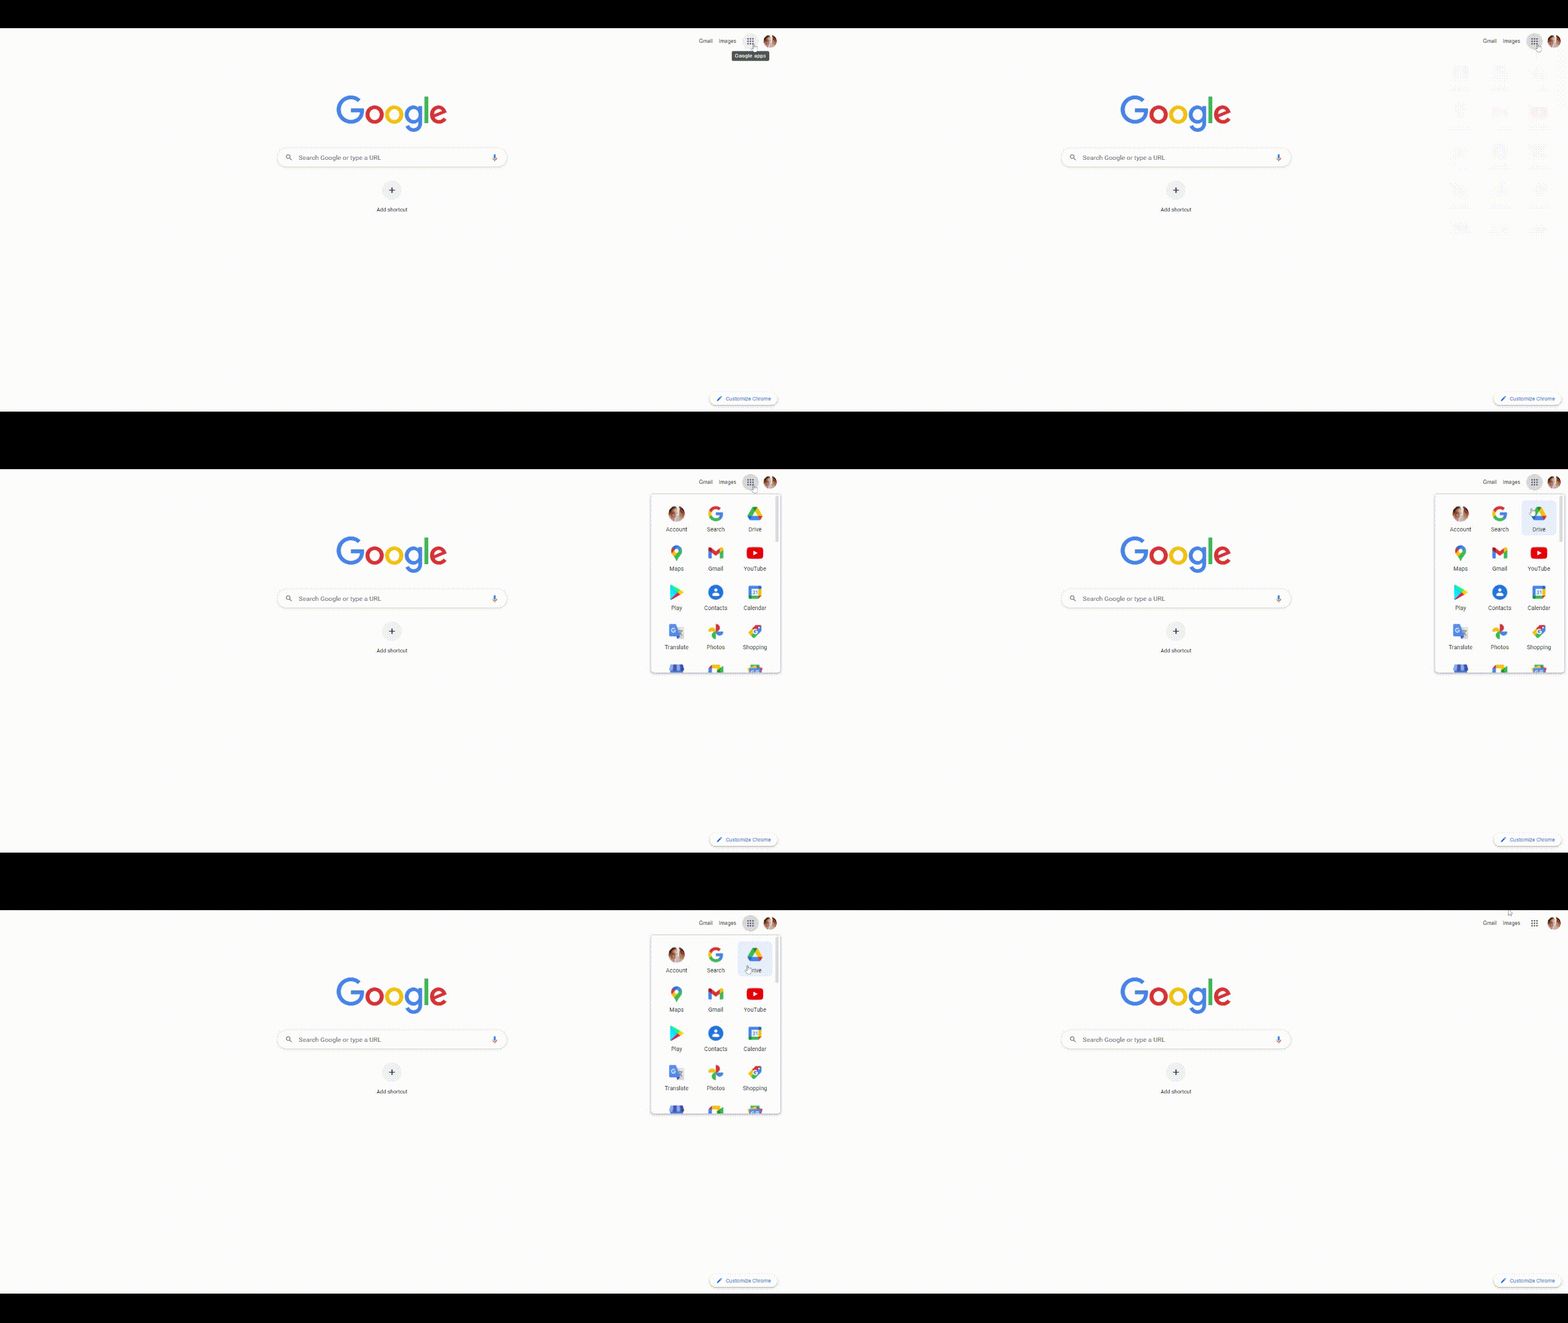
Many people log into their Google Accounts by logging into their Gmail. Access your Google Drive by going to your Google Apps and click on Drive.

2. Let’s make a folder
In your Drive, click on the +NEW button on the top of the left-hand sidebar and select ‘New Folder.’
3. Titles are important!
Title the folder appropriately and click create.
4. Sharing is Caring
When the new folder appears in your Drive, right-click on it and select SHARE.
5. Set the permissions
In the second box, where it says Get Link, change the link option to ‘Anyone with the link’ can be a ‘Viewer”
6. Almost done!
Copy the link, then click Done.
Now you can share the link you copied with anyone you want to have access to the Google folder.
The short video below guides you through the process. Make sure to skip past the intro to 1:44 to get right to it.
